Open a Studio Zero generation with gorgeous lighting, a perfect shadow, and a completely wrong ingredient list, and you'll understand a very specific kind of ecommerce rage. The photo looks real. The label looks fake. And it's not because the model had a bad day. It's because you told it, without meaning to, which photo to trust least.
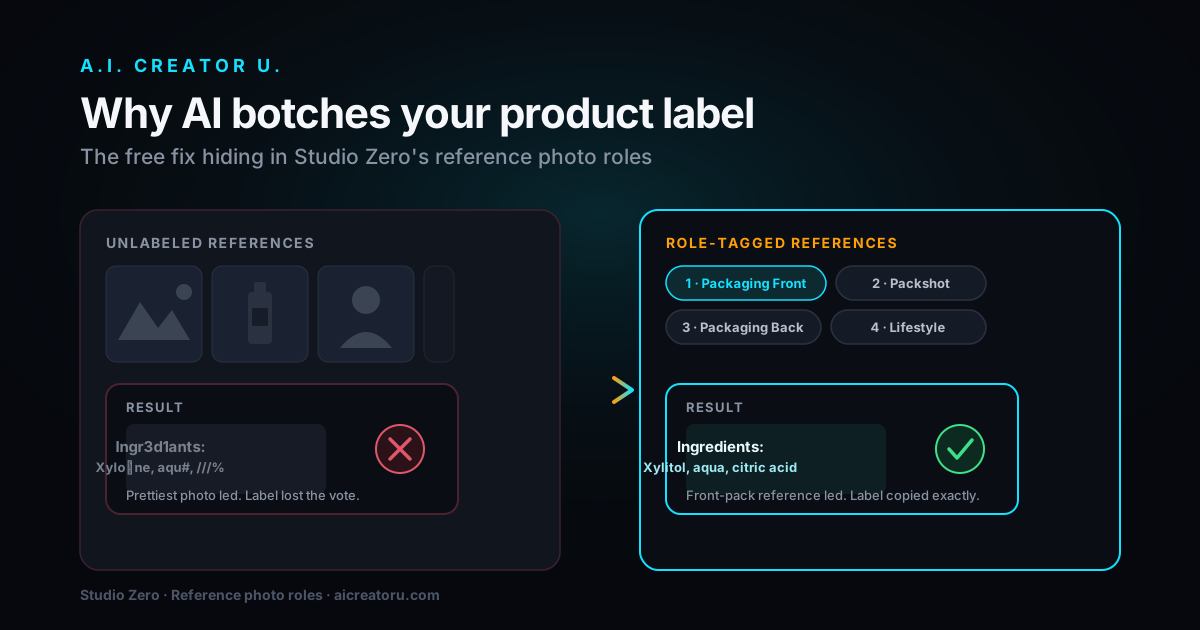
Quick answer: AI image models don't read label text, they draw it, letter by letter, the same way they draw a fold in fabric or a highlight on glass. That's why packaging copy garbles more often than the rest of the shot. Studio Zero has a built in fix called reference photo roles: label each upload (front label, back label, bare product, clean shot, close up, in a scene, with a person) and the generator reorders its references so the clearest label shot leads every single generation. Labeling photos costs nothing. Most people never touch it, which is exactly why their labels keep coming out wrong.
Why Does AI Keep Getting Your Label Wrong?
This isn't a Studio Zero problem. It's a diffusion model problem, and it shows up everywhere from Midjourney to Nano Banana. These models don't have a "type this exact string" function. They generate pixels that statistically resemble letters, the same process they use to generate a wrinkle or a reflection. Ask for a clean product shot and you'll usually get a clean product shot. Ask for that same shot with your actual ingredient panel intact, and you're asking the model to reproduce dozens of small, precise glyphs it has never been told are sacred.
Text rendering has gotten dramatically better across the industry this year. A September 2026 leaderboard from LLM Stats, built on more than 11,000 blind human votes, reportedly ranks OpenAI's GPT Image 2 as the top image model overall, with other benchmarks putting leading models in the 90 to 95 percent range for short-string text accuracy. That's real progress. It's also still not 100 percent, and "usually right" isn't good enough when the wrong word is your own brand name sitting on the label.
Here's the part most people miss: the model isn't guessing blind. It's looking at your reference photos and trying to copy what's actually printed on them. If the clearest, most legible shot of your label is buried at the bottom of your upload pile, behind three lifestyle photos and a blurry phone snap from the warehouse, the model never gets a good look at the thing it's supposed to copy. Feed it a bad reference, get a bad label. That's not a bug you can prompt your way around.
Think about how you'd brief a human photographer instead. You wouldn't hand them ten photos in random order and hope they figure out which one matters. You'd hand them the clearest shot of the label first and say "match this exactly." That's the entire idea behind reference photo roles: it's the briefing step most people skip, because nothing in the interface forces you to do it. The upload button doesn't care what order you drop files in. The role dropdown does.
How Do Reference Photo Roles Actually Fix This?
Every product session in Studio Zero has a Reference photos panel on the Brand & Details tab. You can upload up to 9 photos per product, and each one gets a small label dropdown underneath it: Packaging · Front, Packaging · Back, Actual product (no packaging), Clean product shot, Close-up detail, In a scene, With a person, or Other. Vision tags these automatically when you upload, but you can override any of them with two clicks.
That label isn't cosmetic. It changes the order the generator sees your photos in, and order matters more than most people assume. The image model attends most heavily to whichever reference comes first. Studio Zero uses that fact on purpose: it sorts your uploads by role before every generation, packaging front leads, then a clean packshot, then packaging back, then the bare product, then close-up detail, then lifestyle shots, then anything with a person in it, then everything else. Here's the actual priority order the generator uses:
| Role | What it means | Priority (lower = seen first) |
|---|---|---|
| Packaging · Front | The label side buyers actually read | 1st |
| Clean product shot | Studio-style shot, no distractions | 2nd |
| Packaging · Back | Ingredients, nutrition panel, fine print | 3rd |
| Actual product (no packaging) | What's inside the box | 4th |
| Close-up detail | Texture, stitching, a specific feature | 5th |
| In a scene | Lifestyle context | 6th |
| With a person | Scale, use-in-context | 7th |
| Other | Anything uncategorized | 8th |
So if you upload three lifestyle photos and one packaging shot, and you never label anything, Vision makes its best guess and the model works with whatever order it lands on. Label that packaging photo "Packaging · Front" yourself, and it jumps to the front of the line on every single generation from then on. No re-upload, no new session, no extra prompt engineering. Just a dropdown.
Adding a new photo also re-runs the product analysis across your entire upload set, not just the new file, while keeping anything you've already scraped in (brand name, tagline, key benefits, logo, brand voice). So swapping in a sharper label shot after the fact doesn't reset your session. It just gives the generator a better reference to lead with next time.
How Much Resolution Do You Actually Need?
Labeling matters, but a perfectly labeled blurry photo still produces a blurry label. Studio Zero screens every upload for this before it ever reaches the generator. Anything under 400 pixels on its short side gets rejected outright, with a plain-language reason so you're not left guessing why the upload failed. Anything between 400 and 800 pixels gets accepted with a warning, because it'll probably work for a lifestyle shot but the label text is likely to soften. Above 800 pixels on the short side, you're in the clear.
The practical version of this: your phone camera is almost certainly fine. The problem is usually distance and angle, not megapixels. A straight-on shot of the label, filling most of the frame, in decent light, beats a "nice" wide shot every time. Save the wide, styled shot for your "In a scene" role. Save the flat, boring, dead-center shot for "Packaging · Front." Boring wins here.
The Actual Fix, Step by Step
If you've already got a product session running and the label keeps coming out wrong, here's the fix in order:
- Take one new photo. Flat, front-on, good light, filling the frame, of the exact label you want reproduced. Your phone is enough as long as the short side clears roughly 800 pixels, which most phone cameras hit by default.
- Upload it to the same session. You don't need a new product or a new session. Add it to your existing reference set.
- Label it "Packaging · Front" (or "Packaging · Back" for the ingredient panel). This is the one step people skip. Vision will usually guess right, but don't assume; check the dropdown and set it yourself if it's wrong.
- Regenerate. The next photo, ad, or carousel you generate from that session will lead with the freshly labeled reference instead of whatever it was using before.
That's the whole fix. No new tool, no separate purchase, no waiting on a feature request.
Reserve up to 9 reference slots per product, and don't burn them all on similar angles of the same shot. One strong front label, one back label if the ingredients matter, one clean packshot, and a couple of lifestyle or in-hand shots covers almost every use case Studio Zero throws at a product: the Make Ads tab, the Model Photoshoot, Instagram carousels, and everything the AI Brand Kit touches when it keeps a caption or an ad on-brand.
Ready to fix a label that's been bugging you? Open your product in Studio Zero and check your reference photo roles before you burn another generation on a photo with the wrong ingredient list on it.
What Won't This Fix?
Being honest here: reference photo roles are a real lever, not a miracle switch. If your only photo of the label is a blurry screenshot pulled off a supplier's PDF, relabeling it "Packaging · Front" won't make the text legible; the model can only copy what it can actually read. Extremely dense labels (think tiny nutrition-panel font, six languages, a dozen icons) are still a harder ask than a simple wordmark, even with a perfect reference. And if you're generating a wide scene where the product is small in frame, the label was never going to be the star of that shot regardless of role tagging.
What this does reliably fix is the far more common case: a decent phone photo of your label, sitting in the wrong spot in your upload order, getting outvoted by three prettier lifestyle shots. That's most people's actual problem, and it's a two-click fix.
One more honest note: relabeling an existing reference doesn't retroactively fix photos you already generated. It only changes what happens on your next generation. If a batch already shipped with a garbled label, you'll need to regenerate it after you fix the reference, not just relabel and walk away.
Credit Costs, In Plain Numbers
This is the detail that surprises people most: fixing the label doesn't cost anything until you actually generate.
| Action | Cost |
|---|---|
| Uploading a reference photo | Free |
| Labeling or relabeling a photo's role | Free |
| Re-analyzing your full reference set after adding a photo | Free |
| Generating a product photo | 2 credits per image |
| Generating marketing copy alongside it | 1 credit per copy pack |
You can label, relabel, and swap references as many times as you want while you dial in the exact combination that reads correctly, and you only spend credits on the generation itself. New accounts start with up to 16 free credits (a 6-credit welcome pack plus 10 more after the quick onboarding tour, valid for 14 days), which is enough to test this on a real product before you commit to anything.
Get Your Labels Right, Then Scale the Ad
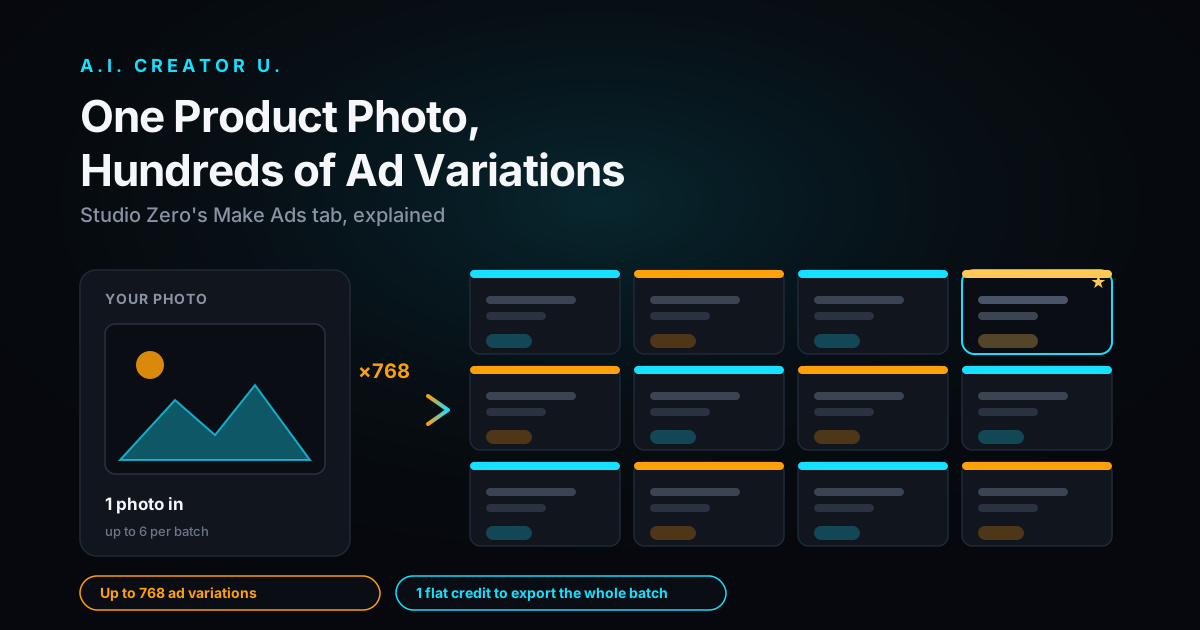
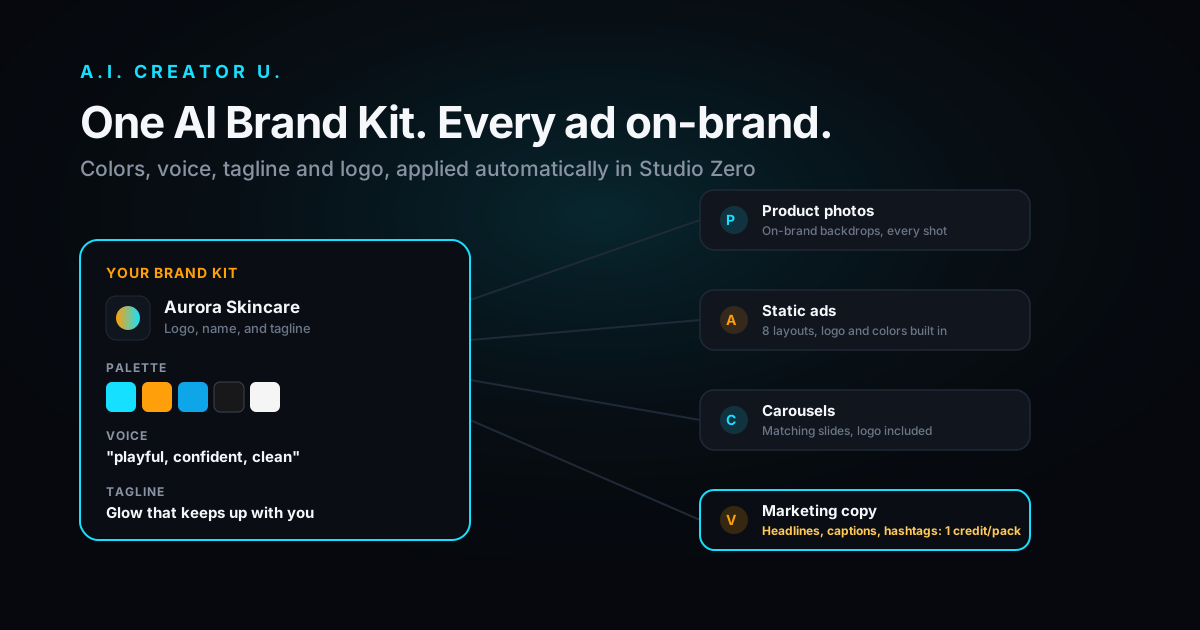
Once your reference photos are labeled and your label text is coming out clean, the real payoff shows up downstream. A photo with an accurate, readable label is the one you can safely run through the Make Ads tab to spin into dozens of ad variations, or into the Model Photoshoot for a full 8-shot campaign, without worrying that you just multiplied a garbled label across every format at once. It's also the foundation the Brand Kit leans on to keep every caption and ad copy variant consistent with what's actually printed on your product. And if video ads are next on your list, the same accuracy discipline applies; our guide to making AI video ads that convert covers the rest of that workflow.
Fix your reference photos in Studio Zero now, before your next batch of ads goes out with the wrong word on the box.
FAQ
Does labeling my reference photos cost credits? No. Uploading, labeling, relabeling, and the automatic full-set re-analysis that happens when you add a new photo are all free. You only spend credits when you actually generate a photo (2 credits) or marketing copy (1 credit per pack).
How many reference photos can I upload per product? Up to 9. You don't need anywhere close to that many; one sharp front label, one back label if the ingredients matter, a clean packshot, and a couple of lifestyle or in-hand shots covers most products.
What resolution do I need for the label text to come out sharp? At least 800 pixels on the photo's short side. Anything under 400 pixels gets rejected automatically at upload with an explanation. Between 400 and 800 pixels, it'll upload with a low-res warning, and label text is the first thing to blur at that size.
Why does the order of my reference photos matter if they're all in the same session? Because the image model weighs whichever reference it sees first the most heavily. Studio Zero automatically reorders your uploads by role before every generation, packaging front leads, then packshot, then packaging back, and so on, so a correctly labeled front-pack photo gets treated as the primary source of truth every time.
I already generated a bunch of photos with the wrong label. Do I need to start over? No. Add the better label photo to the same session, tag it correctly, and regenerate. The full-set re-analysis picks up the new reference immediately and preserves everything else you'd already set up (brand name, tagline, key benefits, logo).