Most "we need better ad creative" problems aren't actually creative problems. They're volume problems. You need four or five headline angles, a handful of layouts, and a couple of CTA styles all running at once before you can tell which combination actually converts, and building that set by hand in Canva or Photoshop is an afternoon most sellers don't have. Studio Zero's Make Ads tab does the entire batch for you in four steps, and the batch is bigger than you'd guess: from one product photo, you can walk away with as many as 768 distinct, ready-to-post ad images, and the whole thing ZIPs up for a single flat credit.
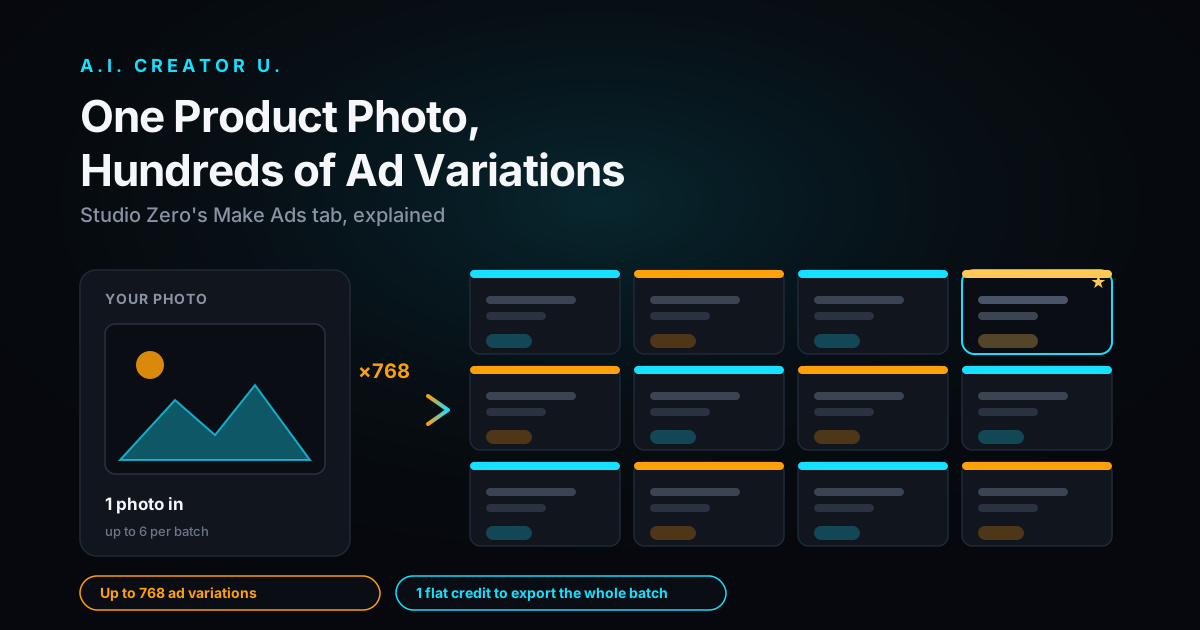
Quick answer: Make Ads is a tab inside Studio Zero that turns your product photos into finished static ad images automatically. Pick up to 6 photos, let AI write headline and CTA copy in five different "vibes," choose from 8 layout designs, and it generates the full cross-product of photo × layout × headline × CTA combinations (up to 768 images), then bulk-exports everything as one ZIP for a flat 1 credit no matter how many ads are inside it. No video generation involved, no paid account required, and it lives at /studio-zero under the Make Ads tab.
What Does Studio Zero's Make Ads Tab Actually Do?
Make Ads is the static-image sibling to Studio Zero's video ad generator. Where turning a product photo into a video ad gives you one piece of motion creative, Make Ads is built for the opposite problem: you don't need one great ad, you need dozens of testable variations of the same product shot, fast, so you can find out which headline and layout actually pulls a click before you commit real ad spend to it.
It's a four-step wizard, labeled exactly this in the product: Photos, Copy, Look, Your ads. Each step is genuinely quick (most of the decisions are just picking checkboxes), and nothing gets rendered as a finished ad until the last step, so you're not committing to anything until you've seen the combinations.
How Many Ad Variations Can You Actually Get From One Photo?
This is the part that surprises people. The final grid is a straight cross-product:
photos × layouts × headlines × CTA button states
With the real caps in the product, that's 6 photos × 8 layouts × 4 headlines × 4 button states (3 CTA label options plus a "no button" version, which is on by default). Multiply that out and the ceiling is 768 individual ad images from a single product, and your subheadlines ride along paired automatically in round robin, so you're not manually matching headline to subline across hundreds of cards.
You obviously don't need 768 ads for a first test. Most sellers narrow it down: 2 photos, 3 layouts, 2 headlines, and both CTA states already gets you 24 genuinely different ads to run through a real test, which is more creative variety than most stores launch with in a month.
A Worked Example
Say you're selling a ceramic coffee mug and you want to test three things at once: which product photo performs best, whether a "Bold" or "Benefit" headline angle wins, and whether showing a price-off badge helps or hurts. You'd pick 2 photos (a lifestyle shot and a plain white-background shot), 2 layouts (Offer badge and Minimal, so the badge test is clean), and let Copy generate both a Bold and a Benefit headline. Leave both CTA states on. That's 2 × 2 × 2 × 2, or 16 finished ads, built and exported in the time it takes to make coffee. Load them into your ad platform's dynamic creative test, let it run for a week, and you'll have a real answer instead of a guess, all for roughly 4 credits total.
How Do You Actually Use It? (Step by Step)
Here's what each of the four steps does, in the order you'll hit them.
Step 1: Photos
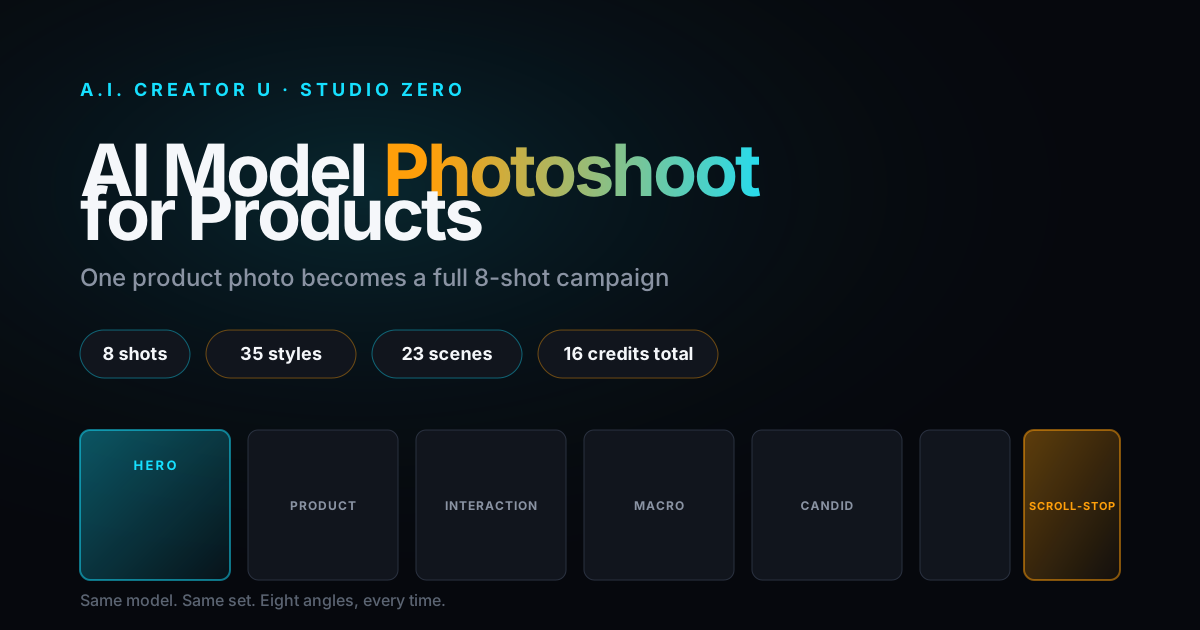
Pick up to 6 background photos. These come from your existing AI-generated images in the project (product shots, Model Photoshoot output, and so on); Try-On shots specifically don't show up in this pool since those are meant for fitting-room content, not ad creative.
Don't have photos ready yet? You can stage fresh ones right here with 5 AI staging styles built specifically for ad backgrounds: Color Block, Gradient, Lifestyle, Dark Spotlight, and Soft Pastel Float. Each one deliberately reserves negative space for text to sit on top of later. Staging costs 2 credits per style you pick, capped at 5 styles per batch.
Step 2: Copy
AI writes headline and subheadline options straight from your product context, and you pick a "vibe" to steer the tone: Benefit, Bold, Question, Offer, or Proof. Your first copy generation costs 1 credit, unless the project already has a cached copy pack from an earlier Brand Kit scan or ad session, in which case it's reused for free.
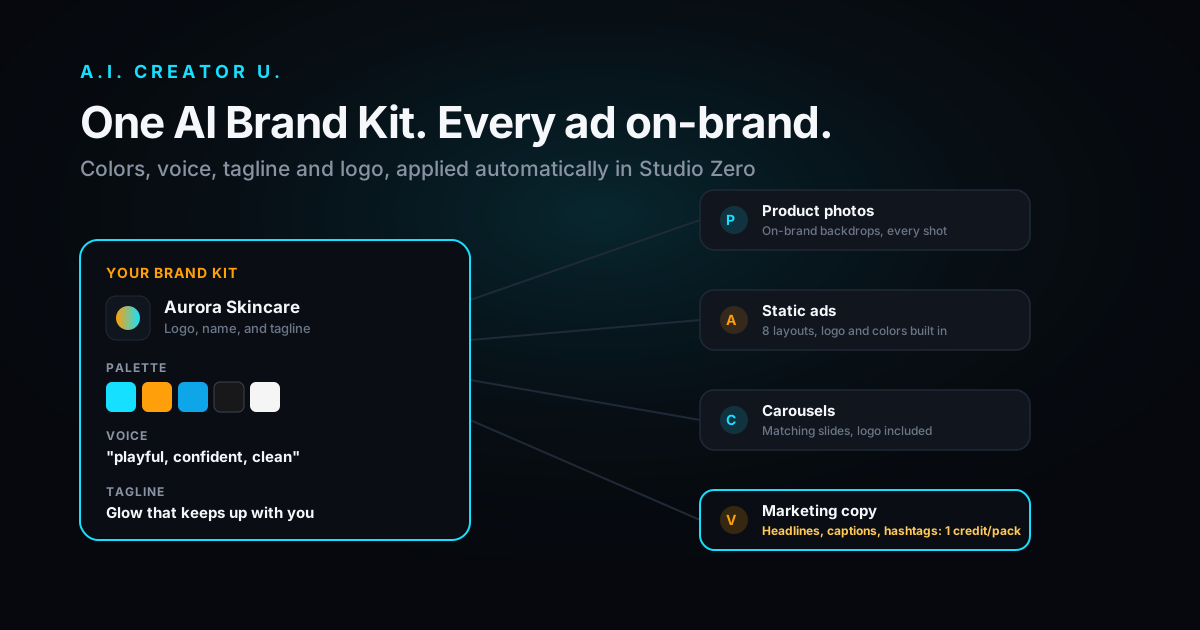
You can hit "generate more" as many times as you want (1 credit per batch), and you're capped at 4 headlines, 4 sublines, and 3 CTA button labels selected at once (drawn from 6 presets or your own custom label), plus that no-button toggle. If you've already read our Brand Kit guide, this is the same copy engine, reused here for ad-specific variations instead of a standalone copy pack.
Step 3: Look
Choose from 8 layout designs, each rendered as a live thumbnail using your actual photo and headline, not a stock mockup:
| Layout | What it does |
|---|---|
| Brand band | A solid color bar anchors the headline and CTA over the photo |
| Photo + fade | The image fades into a gradient so text stays readable at the edge |
| Text on top | Headline sits directly over the image with no background block |
| Offer badge | Adds a callout badge for a discount or promo line |
| Split panel | Photo and text copy sit in separate halves of the frame |
| Big outline | Oversized outlined text treatment for a bold, poster-style look |
| Minimal | Small, restrained text placement, photo does most of the work |
| Centered hero | Headline and CTA centered directly over the product |
You also pick one of 3 export sizes: 1:1 (1080×1080), 4:5 (1080×1350), or 9:16 (1080×1920). Whatever photo you staged gets cover-cropped to fit, so you don't need to re-shoot per aspect ratio. Your Brand Kit's colors auto-populate the accent color, and an Advanced panel lets you override with a custom color, pick from 3 fonts, and add badge text if you're using the Offer badge layout.
Step 4: Your ads
This is where the full grid renders, and it's genuinely instant, because every ad is a client-side canvas render, not a new AI generation. There's no per-ad cost here. You get a live count as you tweak settings ("6 photos × 4 headlines × 4 button options × 3 looks," for example), and a dedicated edit drawer lets you override any individual ad's headline, subline, CTA, color, font size, or photo darkening, all for free, before you export.
Export is where the one real charge sits, and it's flat: 1 credit, regardless of whether your ZIP has 4 ads or 400. The charge only fires after the ZIP successfully renders, so a failed export never costs you anything, and every ad in your batch gets included in the download, even the ones you've scrolled past in the results grid.
How Much Does Make Ads Actually Cost?
| Scenario | What you're paying for | Credits |
|---|---|---|
| Brand-new project, no photos yet | 1 staged background style | 2 |
| First copy generation | AI headlines + sublines | 1 |
| Export the batch | Flat fee, any batch size | 1 |
| Total for a first full run | 4 credits | |
| Reusing existing photos + cached copy pack | Just the export | 1 credit |
That's the whole cost structure. There's no per-ad charge once you're in step 4, no surcharge for choosing more layouts or more headlines, and no cap on how many times you regenerate copy or re-export a tweaked batch. Make Ads doesn't require a paid account either. Every charge here runs through a plain credit balance check, the same kind that applies to Studio Zero's image tools generally, so a new signup can try the whole workflow on the free credits they start with (up to 16, between the signup grant and finishing onboarding).
Static or Video: Which Should You Actually Run?
Here's the honest answer, and it's not "always video." Static and video ads solve different problems, and the industry data backs that up pretty clearly for 2026: video is reported to drive meaningfully higher engagement and click-through than static images, especially for products that need demonstration, but static creative still runs at noticeably lower cost-per-thousand-impressions on most platforms, which makes it the more efficient format once you already know an angle works and you're scaling spend against it.
There's a second reason static wins for the testing phase specifically, and it's not really about the ad format at all: creative is now reported to drive as much as 70% of campaign performance on platforms like Meta, more than targeting or budget allocation combined, according to 2026 industry benchmarking. If most of your performance ceiling comes from which creative angle you pick, you want to test angles as cheaply and quickly as possible before you spend real money proving a video version of the wrong headline. Static image batches, at a flat 1 credit for the whole export, are about as cheap as that testing loop gets. Once you find the headline and layout combination that's actually pulling clicks, that's when it's worth spending the extra credits to turn it into a video ad for prospecting.
Ad fatigue is the other reason to keep a deep bench of variations on hand: audiences under 500,000 people are reported to fatigue on the same creative within 1 to 2 weeks, and even larger audiences buy you maybe 3 to 4 weeks before performance starts sliding. Having 20+ pre-made variations sitting in a folder means refreshing a tired ad is a five-minute swap, not a new production cycle.
Make Ads vs. Carousel Studio vs. Product Photo to Video Ad: Which One Do You Need?
Studio Zero has three separate tools that all start from a product photo and end with something you can post. They're not redundant, they're built for different jobs:
| Tool | Output format | Best for |
|---|---|---|
| Make Ads | Single static ad images, batch-exported as one ZIP | Cheap, fast creative testing across many headline/layout combos |
| Carousel Studio | Multi-slide swipe-through carousel | Telling a longer story or showing multiple angles/features in one post |
| Product Photo to Video Ad | Short video ad | Scroll-stopping motion once you already know which angle converts |
If you're not sure where to start, start with Make Ads. It's the cheapest way to find out which headline and layout your audience actually responds to, and everything you learn from that test carries directly into your carousel and video creative later.
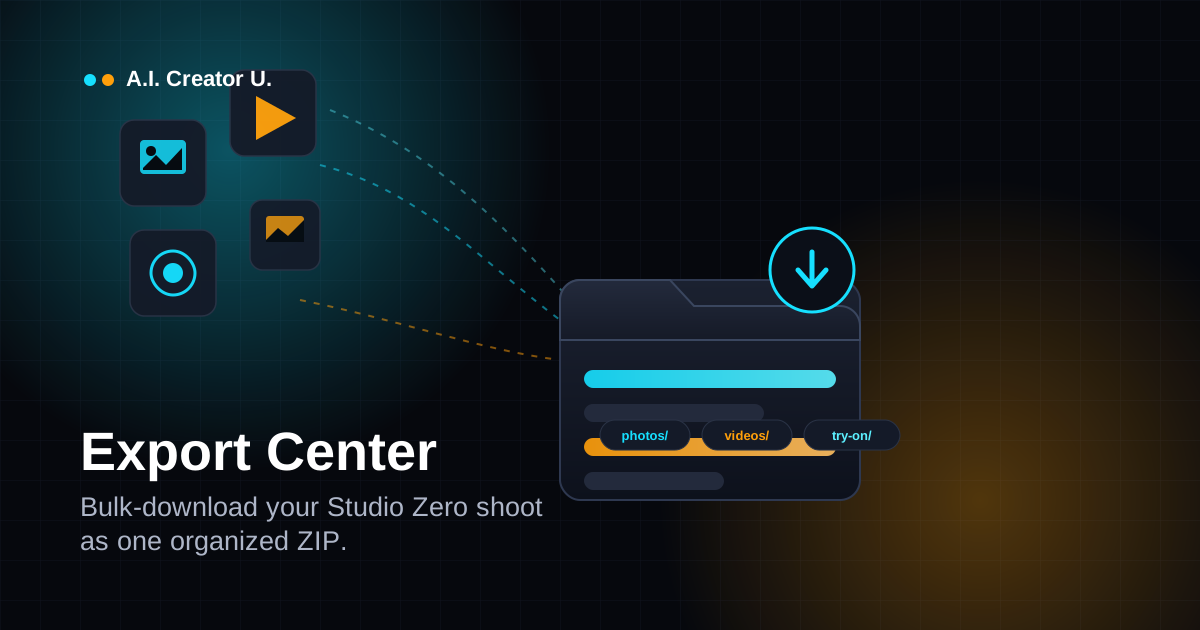
One thing worth flagging if you've already read about Studio Zero's Export Center: Make Ads content does not show up there. The Ads tab has its own separate export path (the flat 1-credit ZIP described above), while Export Center handles bulk downloads from your Photos, Videos, and Try-On tabs specifically. If you're looking for your finished ad batch, it's in the Make Ads tab itself, not in the general Export Center.
FAQ
How much does Studio Zero's Make Ads tool cost? A first full run (staging one photo style, generating copy, and exporting) runs about 4 credits. If you already have product photos and cached copy in the project, exporting a fresh batch of ads costs a flat 1 credit no matter how many ads are in the ZIP.
Do I need a paid Studio Zero subscription to use Make Ads? No. Every charge in the Make Ads flow is a standard credit balance deduction, not a paid-account gate, so it works on free signup credits.
Can I edit an individual ad after the batch generates? Yes. Step 4 has a per-ad edit drawer where you can change the headline, subline, CTA label and color, font size, or photo darkening for any single ad, for free, before you export.
What's the difference between Make Ads and Carousel Studio? Make Ads produces single standalone ad images meant to be tested individually (as Feed or Stories ads, for example). Carousel Studio builds a multi-slide swipe-through sequence meant to be viewed in order, better for telling a longer product story in one post.
Will my Make Ads batch show up in the Export Center? No, and that's expected. Make Ads has its own export button and ZIP download built into the tab; Export Center is a separate bulk-download tool that covers your Photos, Videos, and Try-On tabs.
Start Testing Ad Variations for Almost Nothing
If your ad account has been running the same three creatives for a month, the fix probably isn't a better photo. It's more testable variations of the photo you already have. Head to Studio Zero, drop in a product photo, and let Make Ads build your next batch of test creative in four steps.